How to create a QR menu for your restaurant: from dish list to first order
Set up a QR menu in six steps: choose a format, prepare dish details, publish, print, test, and update. Covers POS integration and the requirements for table ordering and phone payments.


Loading audio…
—:—
A restaurant QR menu can open a PDF, a dish catalog, an ordering cart, or online payment. Guests may need to zoom in to read a PDF. A mobile menu shows photos and ingredients, with an “Add” button if ordering is enabled. With payment set up, guests can pay on their phones without waiting for the bill. The scan looks the same each time; what guests can do depends on where the link leads.
This guide for restaurant owners and managers covers six steps, from choosing a format to keeping the menu up to date. A separate section explains when you need a POS system and a payment provider. The setup examples below use Eatery Club™, but the overall process also applies to other services.
Step 1. Choose your QR menu format
These four formats have different requirements for menu data and integrations.
PDF behind a QR code
Guests open the menu file in their browsers, and a server takes their orders. This is enough for a short menu that rarely changes. You need an up-to-date PDF hosted at a permanent link.
Mobile menu
Guests browse a page with categories, photos, descriptions, and prices without installing an app. This format suits a menu with photos and frequent changes; a server still takes the order. Prepare a dish catalog with photos and descriptions. In Eatery Club, that catalog syncs with the POS system.
Ordering at the table
A cart lets guests add dishes to their orders. The order goes to the POS with the table number. Consider this option when servers cannot keep up with orders during peak hours. It requires POS integration, tables imported from the restaurant’s floor plan, and the table-ordering service type.
Payment from the phone
Guests pay online and can leave a tip if the restaurant has enabled the tipping step. In addition to the table-ordering setup, you need a payment provider and configured payment types. This option suits restaurants that want guests to pay on their phones so servers no longer have to handle payment at the table.
You can start with a PDF or mobile menu and add ordering once your team is used to it. Ordering requires a supported POS integration, and online payment also needs a payment provider. The requirements are covered after the six steps.
Step 2. Prepare dishes, prices, and photos
Once you have chosen the format, gather the menu data before publishing: it affects how easy the menu is to use.
If you use a POS system, make it your main source for dish names, prices, weights, and ingredients. In Eatery Club, you create products in the POS and import them into the admin panel using the menu sync button. Edit those fields in the POS: the next sync will overwrite changes made in the panel. New items are imported as inactive and must be activated manually. For a PDF you maintain yourself, assign someone to keep its prices consistent with the POS.
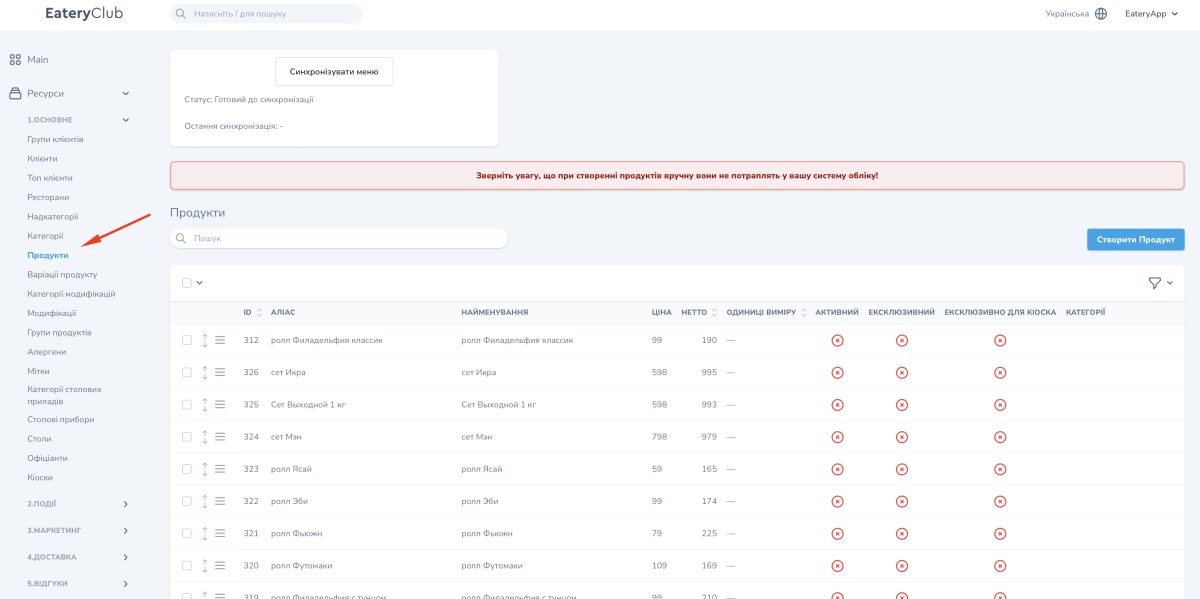
Use category names guests recognize, such as “Breakfast,” “Pizza,” and “Drinks,” rather than internal kitchen codes. Each category needs at least one active dish. In Eatery Club, a category must also be active, available for ordering, linked to the restaurant, and allowed by the schedule and service types before guests can see it. If you use supercategories, it must be linked to one of them. Empty categories do not appear in the menu.
Keep dish descriptions to two or three lines covering ingredients, accompaniments, and whether the dish is spicy. Guests will be reading them on a phone at the table.
The main rule for photos is a consistent style: the same lighting, angle, and background for every photo. Ten good photos of popular dishes are better than forty random shots. Photograph the portions your kitchen actually serves. Check sharpness on a phone screen, not on a monitor.
Add allergen information and labels such as “spicy,” “vegan,” and “new” so guests can find them without reading the full description. In Eatery Club, you maintain allergens and labels in the admin panel, separately from the POS, and link them to products. Translate them into each interface language; otherwise, the labels will not display correctly.
Instructions for managing the catalog: Menu categories, Allergens, Getting started with Eatery Club.
Step 3. Publish the menu
For a PDF, use a single column, large type, and no two-page spreads so guests can read it on a phone without zooming. Save it as one file and host it at a permanent link. Changing the address means reprinting every QR code. In the Eatery Club restaurant card, a switch controls what guests see: turn it on to show the product catalog from the POS, or off to show the PDF menu.
A mobile menu is the restaurant’s web page, accessible in a browser without an app or registration. In Eatery Club, sync the catalog with the POS and activate the products. Before launch, check photos and descriptions, enable the required categories, and make sure the restaurant is marked active.
For ordering at the table, sync the tables from the floor plan in your POS system. You cannot create tables manually in Eatery Club. In the admin panel, you can change table numbers or names, such as “Terrace” or “VIP,” and deactivate tables you are not using. Then enable table ordering in the restaurant card and add it to the available service types. Servers are also imported from the POS; assign them to tables in the panel.
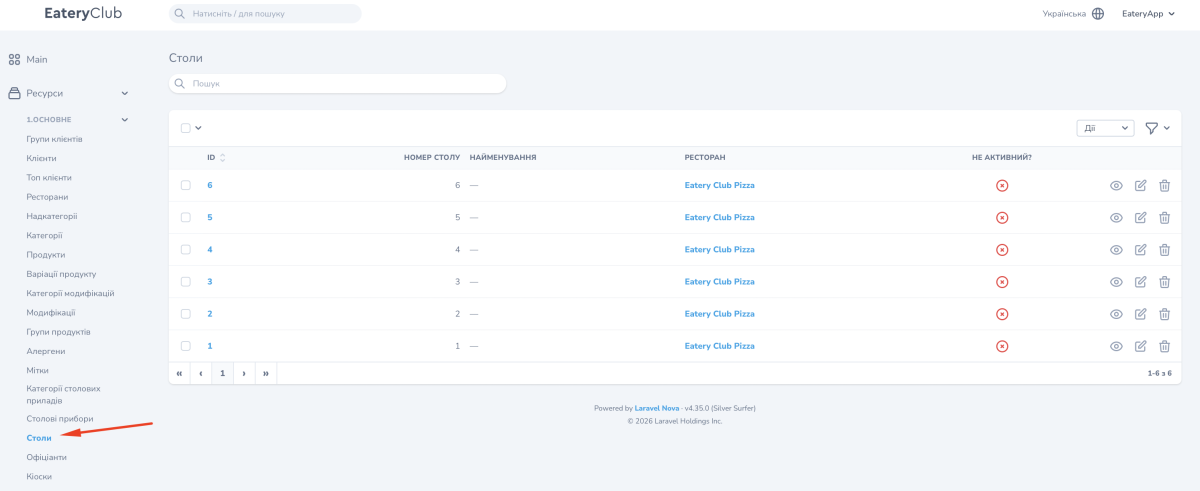
Setup instructions: Restaurant settings.
Step 4. Print QR codes and place them on tables
A PDF or mobile menu can use one shared QR code for the restaurant. Table ordering needs a separate link for each table so the POS receives the correct table number. A mix-up is costly: dishes may go to the neighboring table.
Paste the permanent PDF or menu link into a QR code generator, choose a website link as the content type, and save the code as SVG or PNG. For table ordering, get the table-specific link from your service rather than building the address yourself. Scan the code before printing to check that it opens the right restaurant and, for table ordering, the right table.
Print a high-contrast code on a light background, without gradients or decorative distortions. Add a short explanation that matches what guests can do after scanning. Use “Menu and ordering. Point your camera.” only when ordering is enabled. Use matte material to avoid glare under the lights. Print one sample before the full run and scan it from arm’s length on two different phones.
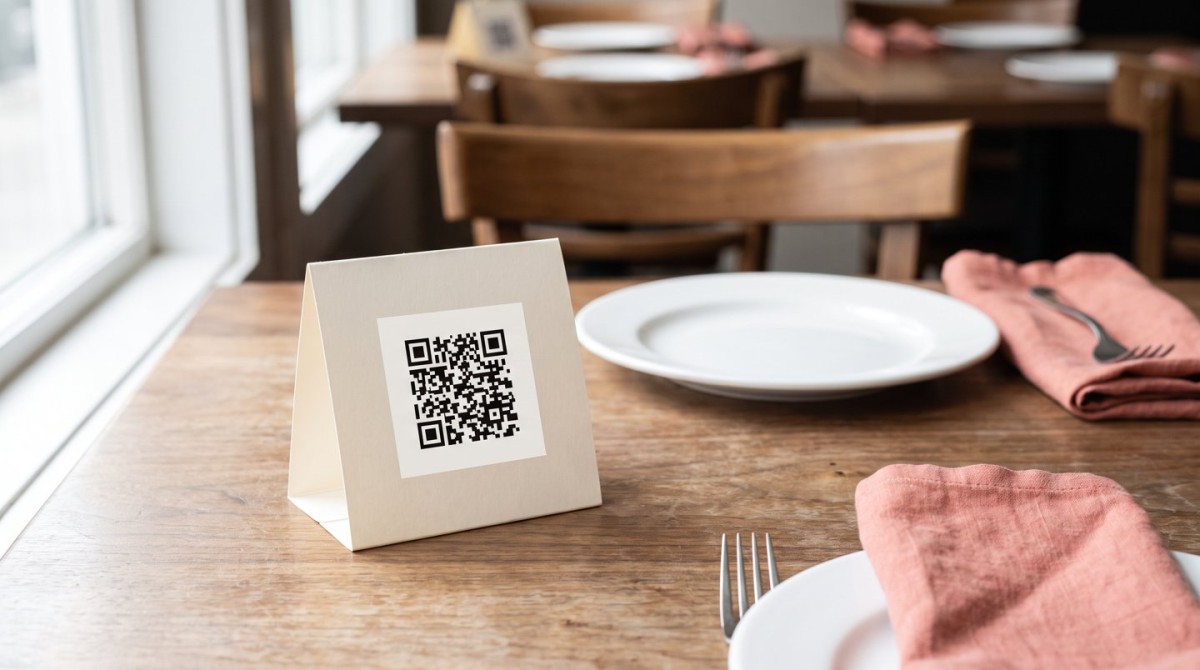
Use a table tent, a sticker on the table, or an insert in a napkin holder. The code should be visible from every seat. A sticker works for a quick lunch; for a longer dinner, choose a holder that does not get in the way of the table setting.
Step 5. Test the menu on a phone
Go through the guest experience on both an iPhone and an Android phone instead of relying on the admin panel preview. Before placing a test order, warn the kitchen and cashier so they do not prepare it.
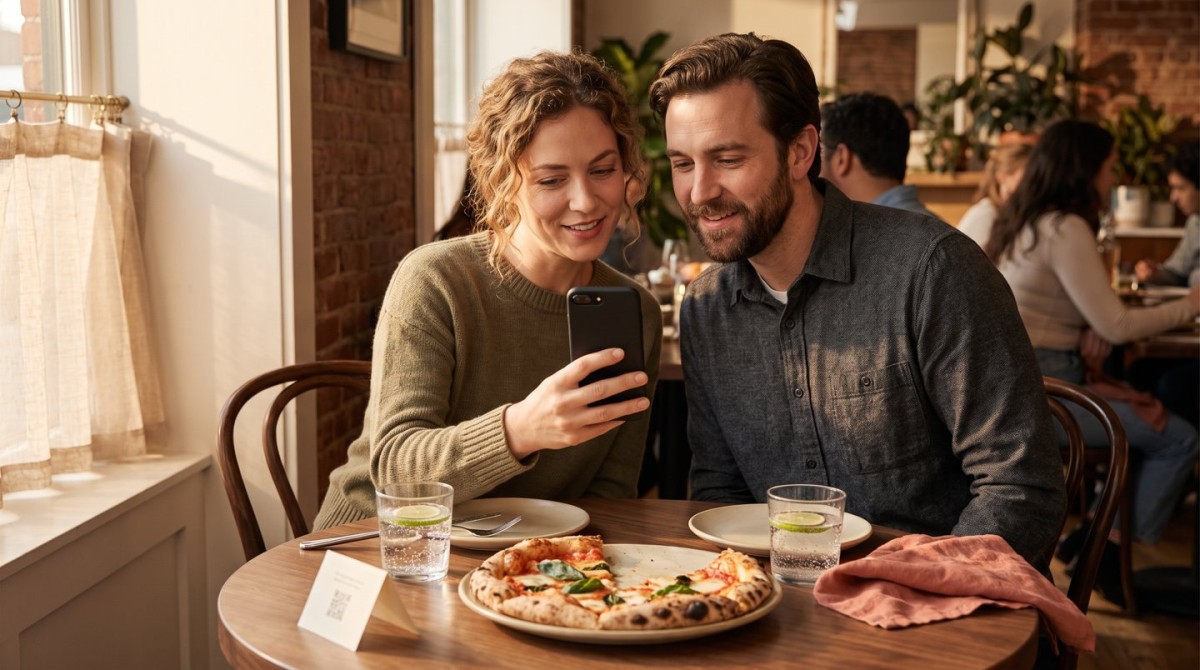
- Scan the QR code with the camera and confirm that the link opens without installing an app.
- Check that categories and dishes are present, photos load, and prices match the POS.
- If ordering is enabled, put an item on the stop list in the POS and confirm that it cannot be ordered.
- With ordering enabled, place a small test order. In Eatery Club, the order should receive a POS identifier after it is sent to the POS. If the field is empty, check the transfer and order status. This channel appears as “QR Site” in order sources.
- If payment is enabled, make a test payment and cancel it according to your provider’s rules. If tipping is enabled, check its separate step.
- Check Wi-Fi and cellular reception at the farthest tables. A weak signal may prevent guests from opening the menu or sending an order.
Step 6. Keep the menu up to date
Rebuild the PDF whenever a price changes. In an integrated mobile menu, a new price appears after you edit it in the POS and sync the menu. A dish on the stop list cannot be ordered.
Assign responsibility for each set of fields. Edit names, prices, weights, and ingredients in the POS; maintain photos, descriptions, allergens, labels, and translations in the admin panel. Activate new items manually. Make a photo and a translation prerequisites for publishing a new dish, and have someone on the team check the menu on a phone as a guest once a month.

Use reviews to see what to fix in the menu. Eatery Club collects guest reviews in the admin panel. Analytics separately show the number of reviews submitted via QR and the average rating for the period. Ratings also go to a Telegram chat if the restaurant has configured that option.
When you need a POS system and a payment provider
A PDF behind a QR code needs no POS integration: the server takes the order, and payment goes through the POS as before. Eatery Club’s mobile menu uses a catalog synced with the POS system. Other services have their own conditions.
Ordering at the table requires a supported POS integration with order transfer enabled. Tables are imported from the floor plan, and orders reach the POS with their table numbers. In Eatery Club, this works with Poster and Syrve (iiko). Ask about compatibility with another POS during a demo. The website’s general integration list does not mean every integration supports table ordering.
Phone payments require a payment provider. In Eatery Club, first configure a payment system using keys issued by the provider, not Eatery Club. Create a payment type based on that system, link it to the restaurant, and add it to the table-ordering service type. The provider determines which payment methods guests can use.
Tips and bill payment have separate switches and can only be enabled together with table ordering. With group ordering enabled, several guests add dishes to one order and each pays their share. A single order is sent to the POS.
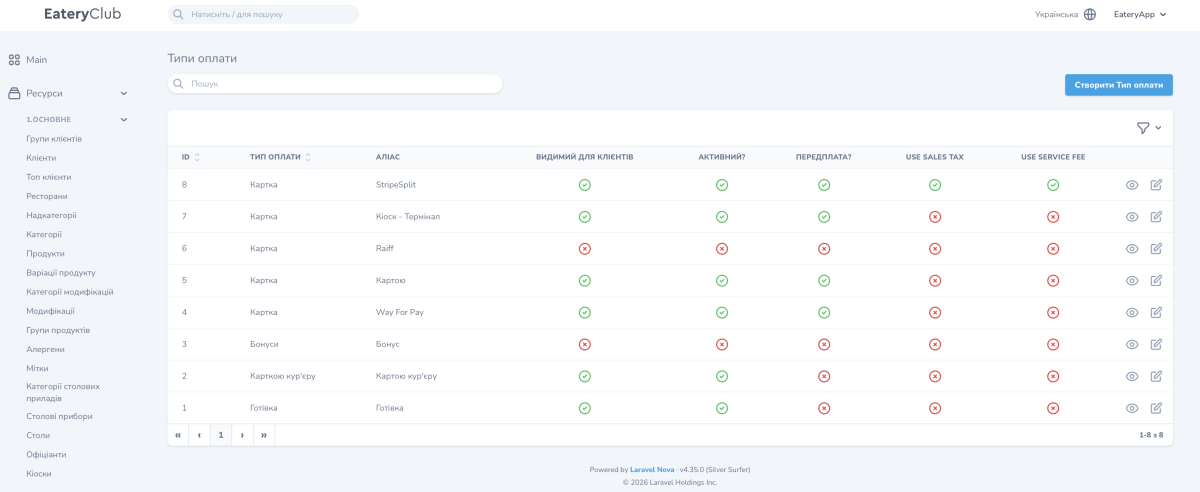
Guests can browse the menu without signing in. The restaurant decides in its settings whether sign-in is required to order. Guests who sign in with a phone number can earn and use bonuses under the restaurant’s loyalty program rules.
Payment setup instructions: Payment systems, Payment types, Service type.
Moving from menus to orders
Start with a PDF or mobile menu and watch how guests use it. If peak-hour demand shows that servers cannot keep up, set up table ordering. Add payment once test orders reach the POS without errors.
Eatery Club’s QR menu formats, connection requirements, and demo are available on the QR menu for restaurants page. For admin panel setup, from launch through payment types, see the Help Center.
Published in
Anton Galiukin
Product Owner at Eatery Club. I specialise in digital innovation and product development. I write about technology and the HoReCa industry.
All stories by this author →