Menu categories: setup and visibility
How menu categories sync in Poster and Syrve, the six conditions for a guest to see a category, the nine category fields, and bulk activation.
Updated: 07.10.2026Categories group products into the menu sections a guest sees.
Category synchronization depends on the POS system
In Poster, categories are synchronized automatically, so you do not have to create them by hand.
In Syrve (iiko), categories are not synchronized. You create them in the panel and link products to them. Product photos are added by hand in the same way.
For other POS systems, check the procedure with Eatery Club support.
When a guest can see a category
A guest sees a category only when all of the following are true at the same time:
- it is active;
- it is available for ordering;
- it is linked to the restaurant you need;
- it falls within the working hours and the allowed service types;
- it contains at least one active product;
- it is linked to a supercategory, if supercategories are used.
Category fields
Field names below follow the Ukrainian source article; your panel may show different labels. The form marks “Аліас”, “Активний” and “Доступний для замовлення?” with an asterisk. The last two are switches: the asterisk means a value is always stored, not that you have to turn the switch on.
- “Аліас”. The internal name.
- “Значок”. The category icon.
- “Активний”. Whether guests see the category.
- “Доступний для замовлення”. Whether the category is available for ordering; this is one of the conditions for a guest to see it.
- “Ресторани”. The restaurants the category appears in.
- “Показувати фото продуктів”. Photo previews in the product list.
- “Показувати на головній”. Whether the category appears on the restaurant home page.
- “Робочий час”. The category schedule: a guest sees the category when it falls within the working hours.
- “Доступні типи сервісу”. The service types the category is available for.
How to create a category in Syrve
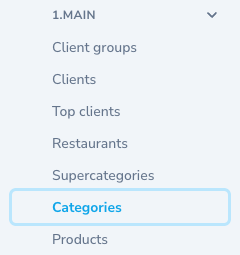
- Open “Resources”, the “1.MAIN” group, the “Categories” item, and click “Create Category”.
- Fill in “Аліас”, set the visibility, link the category to a restaurant, and save it.
- Open the new category in view mode, go to “Переклади”, and fill in the name for every language.
How to activate several categories after synchronization
- Select the categories you need with the checkboxes.
- In the actions menu above the list, choose the bulk activate and deactivate action.
- Choose activation in it and confirm the run.
How to check the result
Open the ordering site or the app, pick the restaurant, and make sure the category appears in the menu. If it does not, go through the six conditions in “When a guest can see a category” one by one.
Where to find it in the admin panel
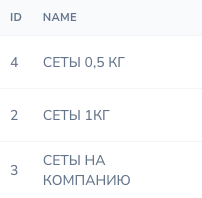
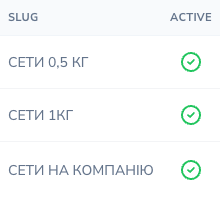
The list of categories.