
Kiosks: registering devices
How to register a kiosk device in the Eatery Club panel: the card fields, the Android ID, terminal and printer addresses, and editing the card.
Updated: 13.10.2026The Kiosks section (“Кіоски”) holds a card for every physical self-service device. One record is one device. On the card you enter the device identifier, the addresses of the hardware connected to it, and the restaurant the kiosk belongs to.
The kiosk screen settings and the hardware integration switches are collected in a separate section, Self-service kiosk settings. Register the device first, then move on to the settings.
What to prepare
- The device’s Android ID. This is the identifier of the Android device, and it is what tells one kiosk from another in the list. It belongs to the device itself. If you do not know your kiosk’s Android ID, contact Eatery Club support.
- The addresses of the payment terminal and the receipt printer, if they are connected to this kiosk. Ask whoever installed the kiosk, or Eatery Club support, for the exact values for your equipment.
- The restaurant. The kiosk service types “Кіоск – В закладі” (kiosk, dine-in) and “Кіоск – З собою” (kiosk, takeout) are chosen on the restaurant card, in the Available service types (“Доступні типи сервісу”) field. Both are linked to the “Кіоск – Термінал” payment type.
Opening the section
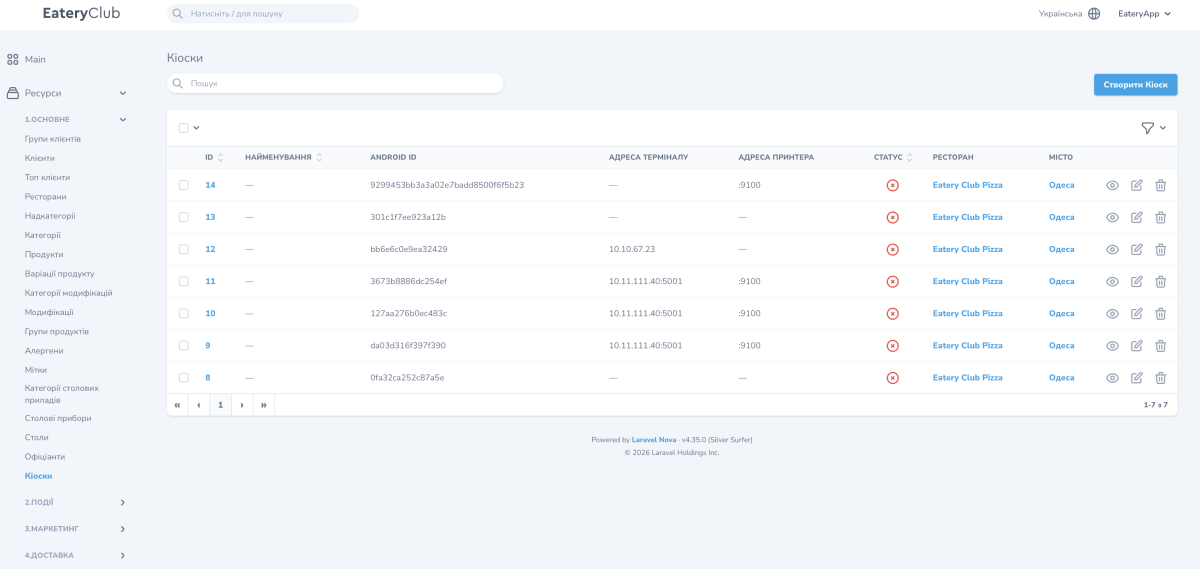
In the sidebar, open Resources, the 1.General group, then Kiosks (“Ресурси”, “1.Основне”, “Кіоски”). You will see the list of registered devices with a search box and the Create Kiosk (“Створити Кіоск”) button.
The fields on a kiosk card
Name (“Найменування”)
- What it is on the form: Text field
- Required: Yes
- What to enter: The name you will recognize the device by in the list, for example “Kiosk by the entrance”
Android ID
- What it is on the form: Text field
- Required: Yes
- What to enter: The identifier of the Android device
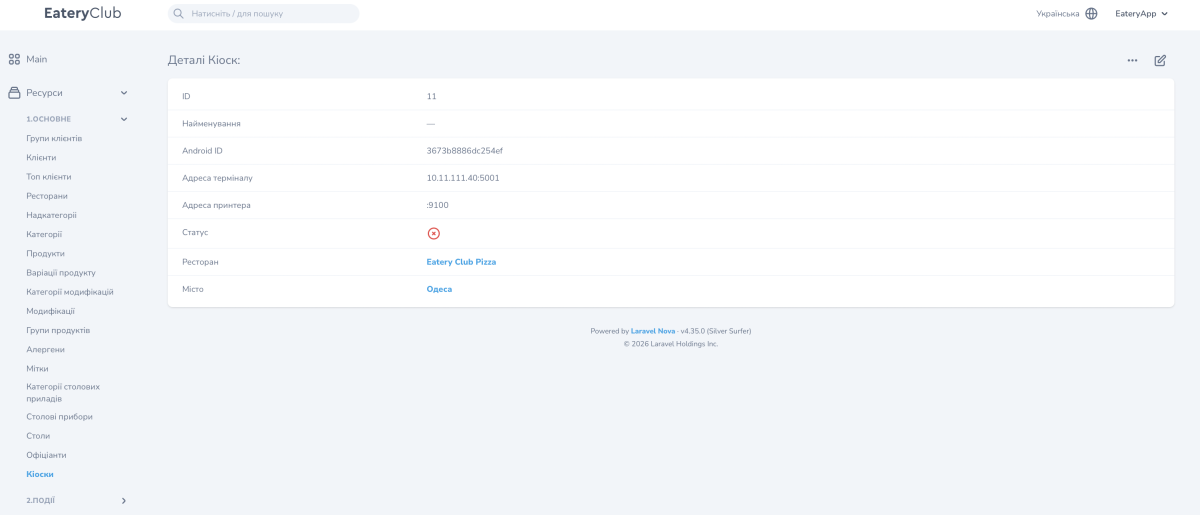
Terminal address (“Адреса терміналу”)
- What it is on the form: Text field
- Required: No
- What to enter: The address of the payment terminal connected to this kiosk
Printer address (“Адреса принтера”)
- What it is on the form: Text field
- Required: No
- What to enter: The address of the receipt printer
Status (“Статус”)
- What it is on the form: Switch
- Required: No
- What to enter: On or off. Off on a new form
Restaurant (“Ресторан”)
- What it is on the form: Choice from a list
- Required: No
- What to enter: The restaurant the kiosk belongs to
City (“Місто”)
- What it is on the form: Choice from a list
- Required: No
- What to enter: A separate field on the form: choose the city from the list
Register a new kiosk
- Open Resources, the 1.General group, then Kiosks (“Ресурси”, “1.Основне”, “Кіоски”).
- Click Create Kiosk (“Створити Кіоск”).
- In the Name field, enter the name of the device. The field is required.
- In the Android ID field, enter the device identifier. The field is required.
- In the Terminal address field, enter the address of the payment terminal, if one is connected to this kiosk.
- In the Printer address field, enter the address of the receipt printer.
- In the Restaurant and City fields, choose the values from the lists.
- Turn the Status switch on, or leave it off.
- Save the form.
- Check that the new record appears in the list with the right restaurant and Android ID. Every row in the list carries three actions: view, edit (the pencil) and delete (the trash icon).
Change a kiosk’s status in the panel
- Open the kiosk card (the pencil in its row).
- Turn the Status switch on or off.
- Save the form.
- Check the value in the Status column in the list.
Update a terminal or printer address
- Get the new address from whoever maintains the equipment on site.
- Open the kiosk card (the pencil).
- Update the Terminal address or Printer address field.
- Save the form.
- Check how it works on the device: place a test order.
If an error window appears on the kiosk as soon as the payment screen opens, before any payment attempt, check the value in the Terminal address field. If it is correct, contact Eatery Club support.
If the receipt does not print, check that the printer itself is switched on: it is a separate device and does not start together with the kiosk. We recommend switching the printer on before you start the kiosk; if the printer was switched on after the kiosk, restart the kiosk.
Replace the device itself
The Android ID belongs to one specific device. If you have put a new device in place of the old one, open the card and replace the value in the Android ID field.
Related articles
- Self-service kiosk settings
- Restaurant settings
- Payment systems
- What an Eatery Club self-service kiosk is and what it gives a venue — on the Kiosk page
