
The Eatery Club admin panel: an overview
The groups in the left menu of the Eatery Club admin panel, what arrives from the POS system during synchronization, and what decides visibility.
Updated: 18.09.2026The Eatery Club admin panel opens in a browser. You use it to manage the menu, orders, the guest database, marketing, delivery and project settings. The left menu is split into numbered groups.
Where to go for a typical task
This article helps you get your bearings in the panel. If you already know what you need to do, go straight to the matching instruction.
- Fill in or update the menu: How to work with products in the admin panel
- Connect the POS and synchronize the menu: iikoTransport / Poster accounts: POS integration
- Set up accepting payments: Payment Systems: Connecting a Payment Provider
- Set delivery zones and fees: Delivery zones: fees and conditions for each zone
- Give a colleague access: Access and roles: how permissions work in the panel
Groups in the left menu
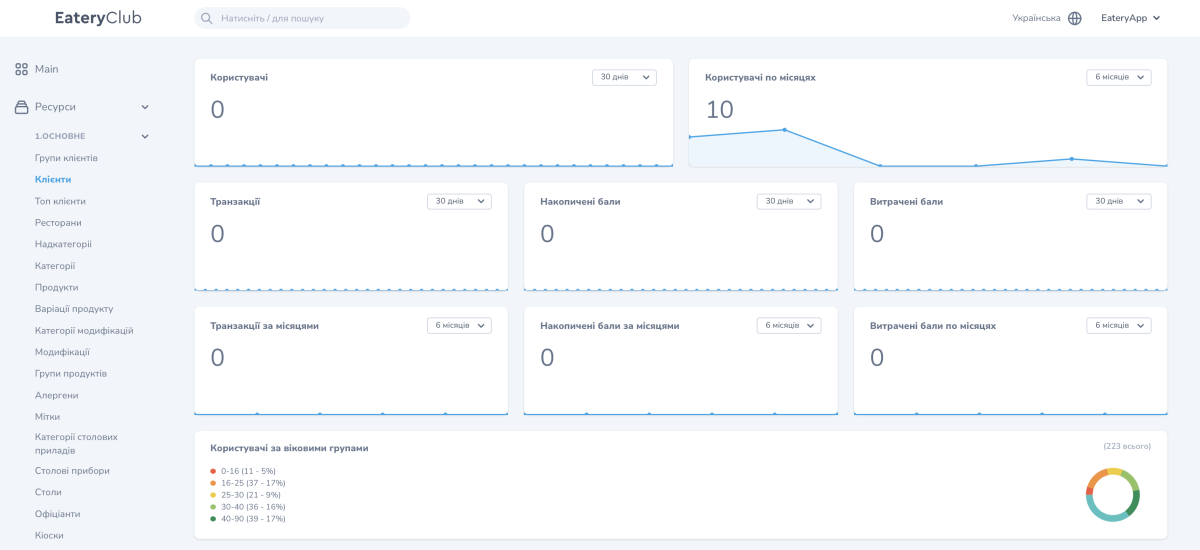
«1.Основне» (Main): guests and guest groups, restaurants, the menu structure, tables, waiters, kiosks.
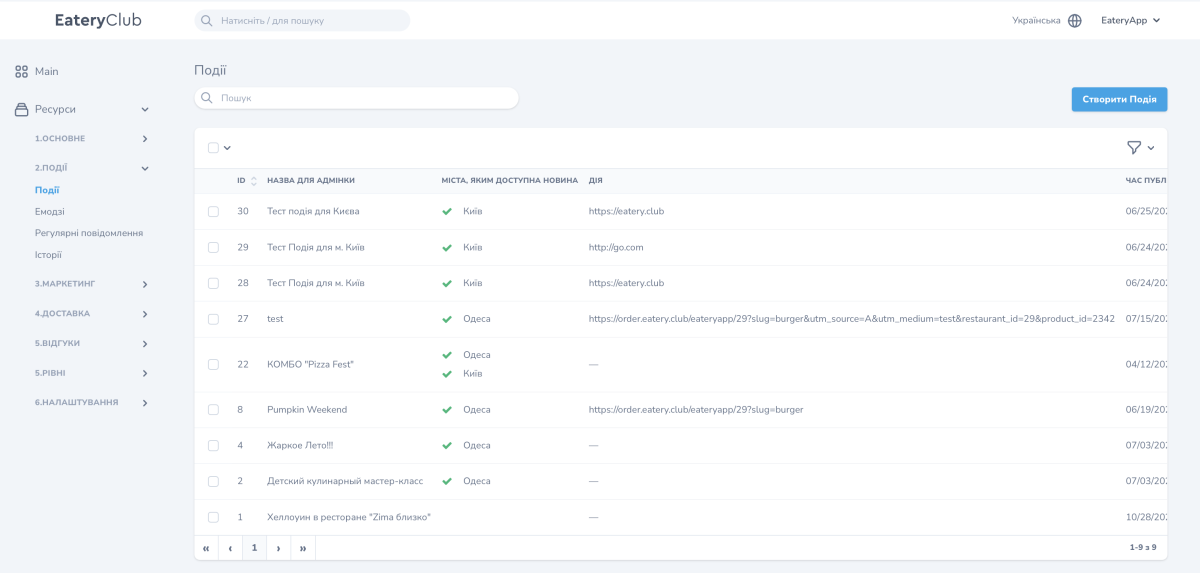
«2.Події» (Events): events, emojis, recurring notifications, stories.
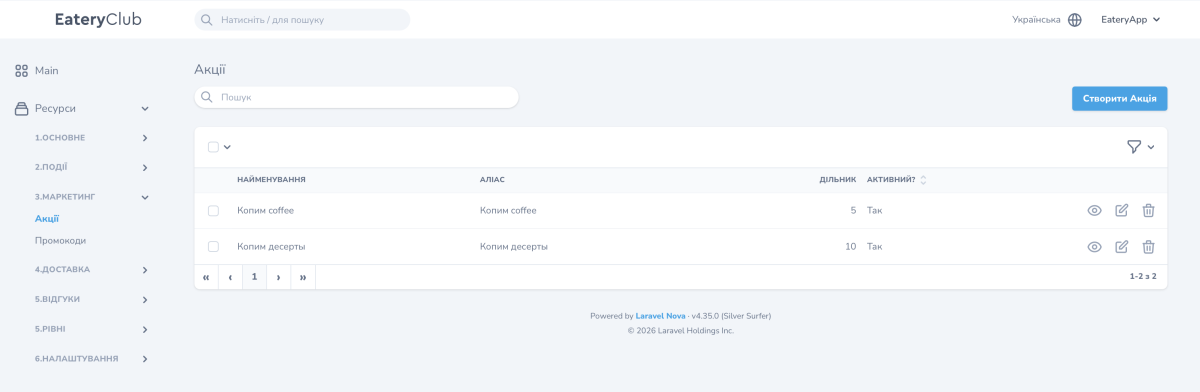
«3.Маркетинг» (Marketing): promotions and promo codes.
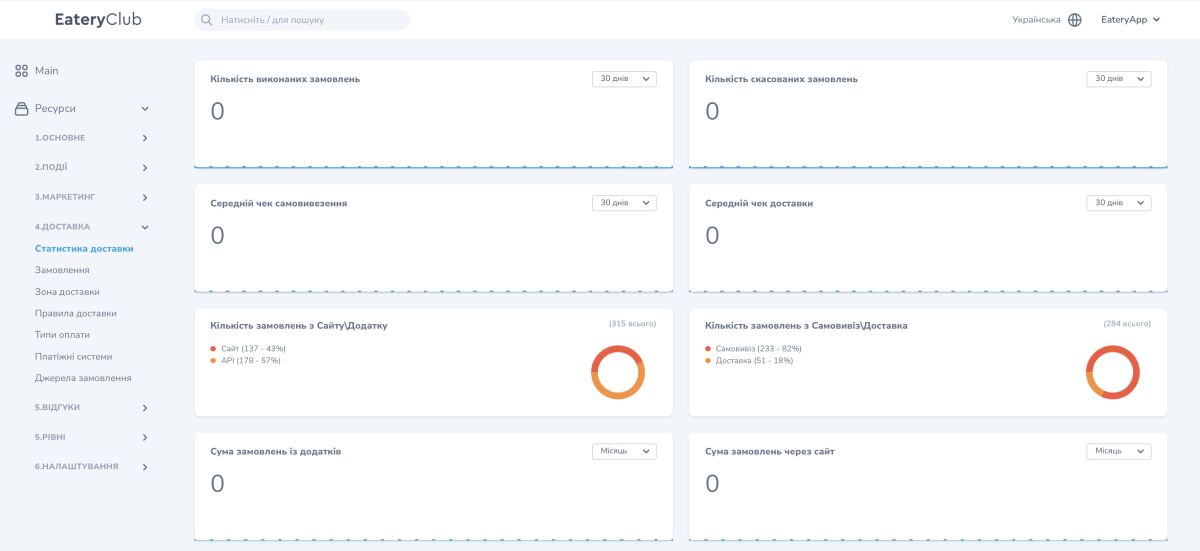
«4.Доставка» (Delivery): delivery statistics, orders, delivery zones and rules, payment types, payment systems, order sources.
«5.Відгуки» (Reviews) and «5.Рівні» (Levels): guest reviews, review questions, delivery reviews, loyalty levels.
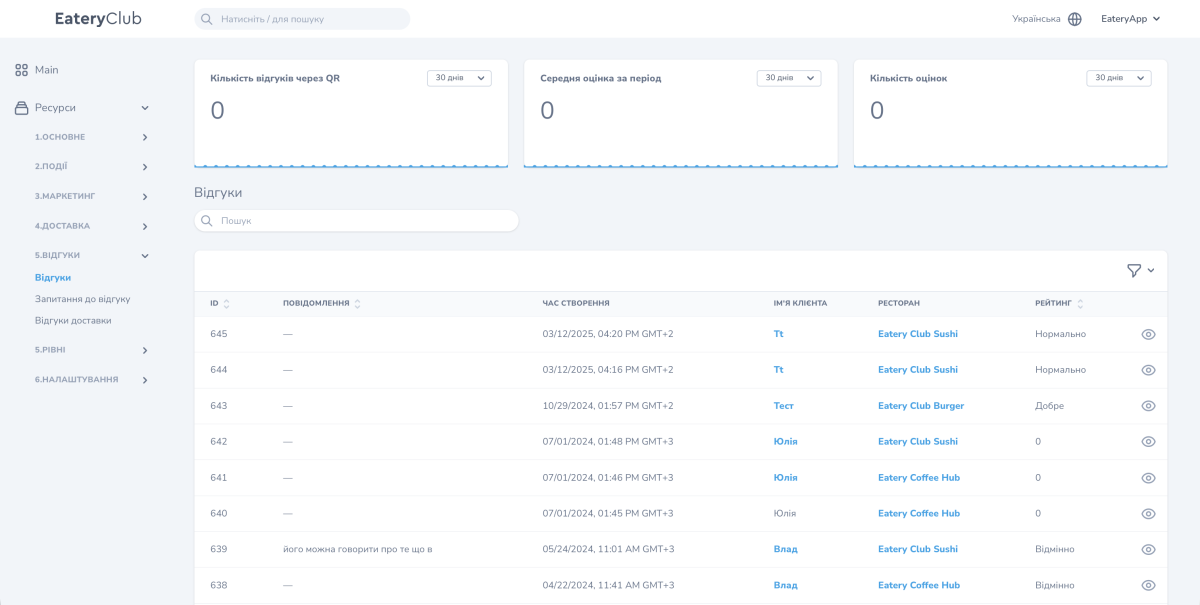
«6.Налаштування» (Settings): the Looker Studio report, export, cities, information, service type, external links, settings, «Eatery-Адміністратори» (Eatery administrators), «IIkoTransport Акаунти» (IIkoTransport accounts, this is where the POS is connected), integration tokens, roles, couriers, documents, page customization.
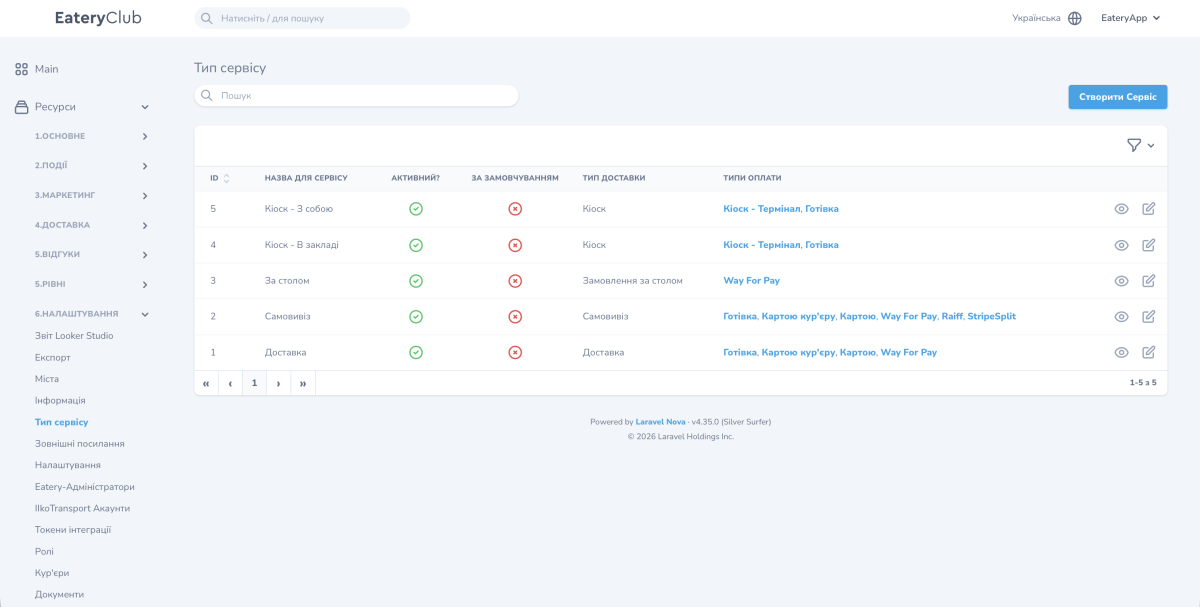
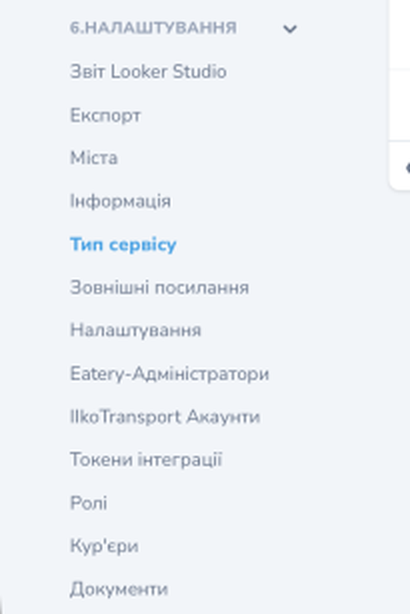
The items inside a group depend on your project configuration and on the permissions of your role, so your menu can differ.
What is created in the POS system rather than in the panel
Some objects reach the panel from the POS system (the cash register) during menu synchronization:
- products, product variants and modifications;
- tables and waiters;
- promo codes and promotions.
After synchronization the objects become available for further configuration in the panel. Products, promo codes and promotions have their activity enabled separately; for products, you also configure their display and fill in translations. Change data whose source is the POS system there: the next synchronization may overwrite edits made in the panel. The synchronization procedure is described in Working with products, and connecting the cash-register account is described in iikoTransport / Poster accounts: POS integration. Help Center has instructions for Poster and Syrve (iiko).
What decides which sections you see
The left menu shows only what the user’s role allows. Product documentation describes two standard access levels: the Owner has full access, including payment systems and roles; the Administrator has access to everything except system sections and payment keys. Other scenarios are covered by custom roles. How permissions work and where they are managed is described in Access and roles.
